setting up encaustic - get ready to paint
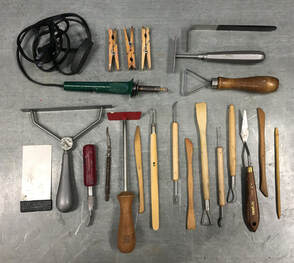
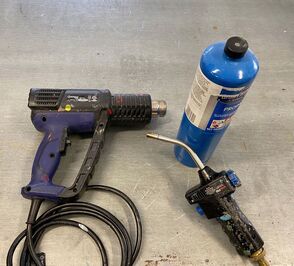
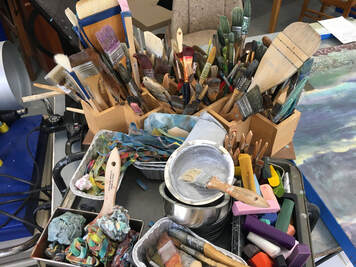
Fusing tools are required to connect the layers to each other. I primarily use a propane torch and occassionally use a heat gun for spot fusing. Heat guns are also better when layering papers (a torch may ignite the paper) Encaustic irons are also helpful.
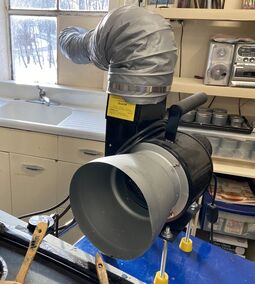
Another necessity is ventilation. If open doors and windows aren't an option in your space a ventilation unit is needed similar to the one I use at right. |
|
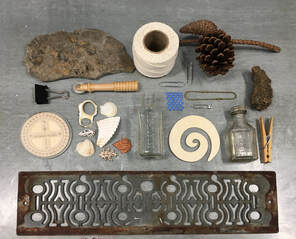
Play around with textures! There are interesting bits everywhere - just look around for things that will leave impressions when you press them into into warm wax.
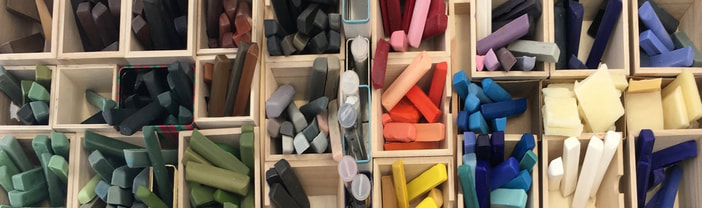
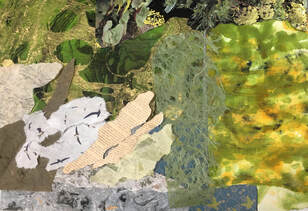
Also consider paper textures. I keep a big supply of papers - handmade and commercial - stored away by color so that I can easily find what I want to incorporate. I include paper I've made and dyed myself, other handmade papers, old newspapers, old wallpaper, candy wrappers, tea bags, etc. I also use bits of photographs I've taken. |
|

Set up your space.
Keep the palette/heating surface, brushes, and paints on your dominant-hand side. Check your ventilation. Large spaces, high ceilings, cross ventilation all help. If you can't throw open the windows you might need to consider a fume extraction unit. For melting your encaustic medium and paints a variety of pans can be used on the heat surface: small loaf pans, wedding favor tins, mini pie pans, cat food cans, etc. The bottom of the can must be flat - flush. Cans or tins with a bottom rim do not heat up well. Melting and mixing small amounts of paint can also be done right on the heat surface. |
|
|
|
"Creativity makes a leap, then looks to see where it is." Mason Cooley When we look at a particular work of northwest coast art and see the shape of it, we are only looking at its after-ife. Its real life is the movement by which it got to be that shape. Bill Reid, Haida carver "It is a widely accepted notion among painters that it does not matter what one paints as long as it is well painted. This is the essence of academicism. There is no such thing as good painting about nothing." Mark Rothko, artist |
